Skip to content
Search for:
Lifestyle
Self-Care
Travel
About Me
Free Resources ♥
Pinterest
Instagram
travel, self-care and seasonal living
Lifestyle
Self-Care
Travel
About Me
Free Resources ♥
Pinterest
Instagram
travel, self-care and seasonal living
Lifestyle
Self-Care
Travel
About Me
Free Resources ♥
Search for:
April 26, 2015
Travel
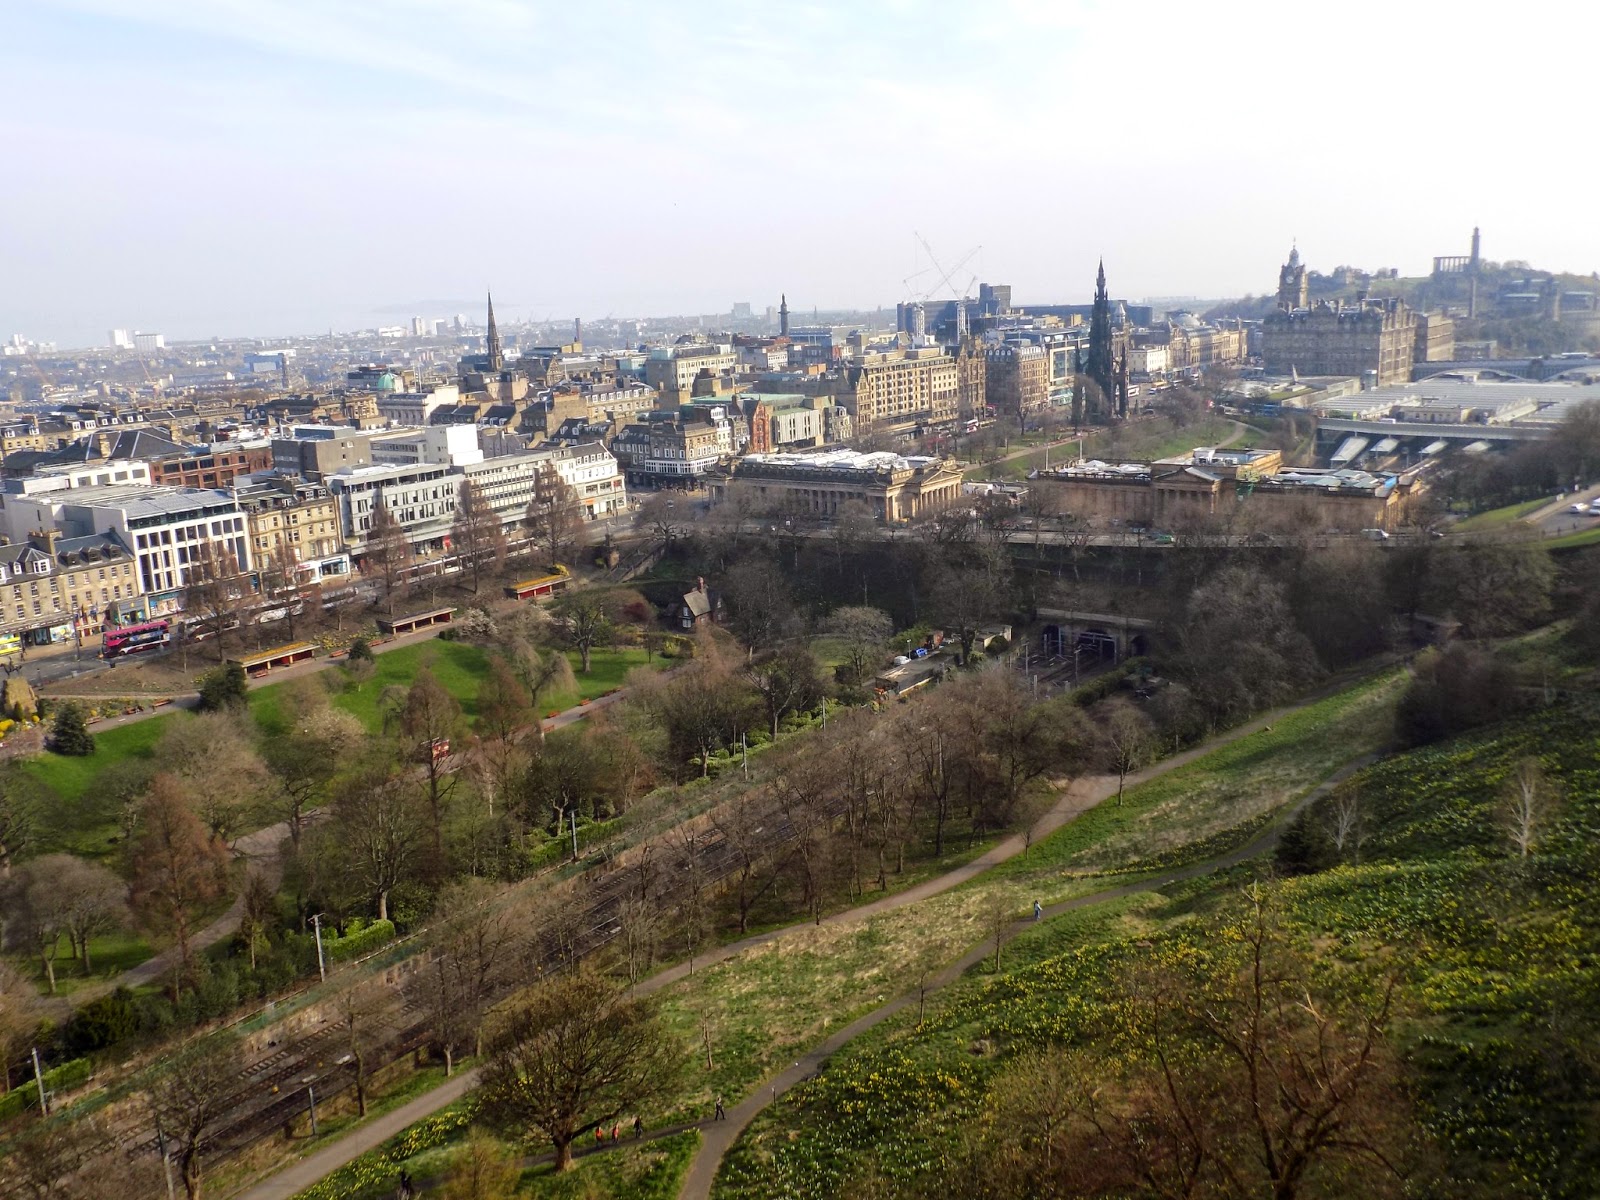
Edinburgh Photo Diary: Part II
Apr 26, 2015
juliaspeaksbeauty
4
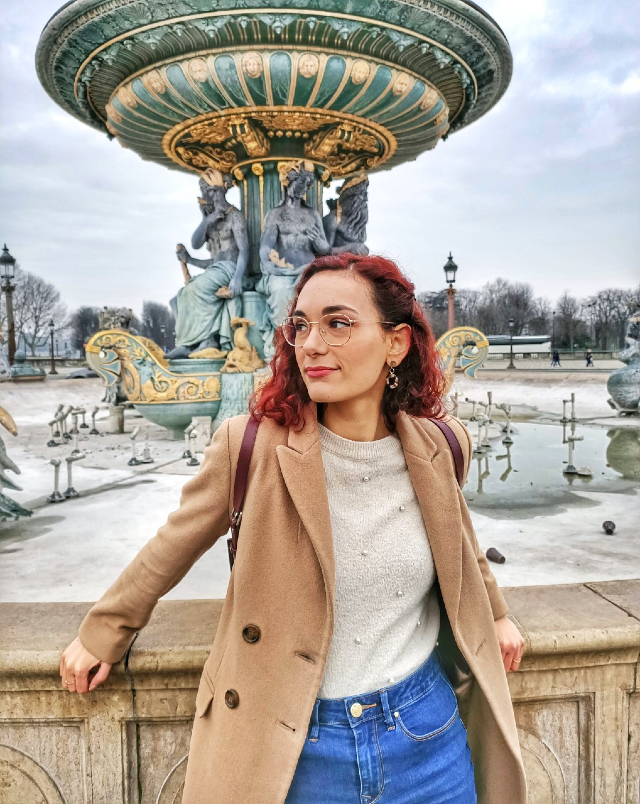
Hi there! I'm Julia.
About Me
28 years old, based in Paris, France. I'm a primary school teacher by day, blogger and creator the rest of the time! I love coffee, exploring pretty places, and helping you grow through self-care and positivity. Happy to meet you!
Let's connect!
You may want to read:
The Expert Budapest Travel Guide For a Successful Trip
How To Celebrate And Enjoy The Winter Season
The Best, Secret Day Trip From Budapest: Bory Castle, Hungary
Fun Seasonal Things To Do in Paris This Autumn
How To Romanticize Autumn and be a Storybook Character
What are you looking for? ♥
Search for:
Swipe ⬅️ to see some Montenegrin cats 🐈🇲
Don't miss this picture-perfect spot on the coast
POV: You found the prettiest place in all of Monte
Wisteria season in Montenegro 💜 In Montenegro
Welcome to Montenegro 🇲🇪 Very excited to sh
Follow on Instagram